本文最后更新于 902 天前,其中的信息可能已经有所发展或是发生改变。
内容目录
开发环境搭建
- bochs安装、配置和测试
- bochs调试环境搭建和测试
- bochs常用调试命令
0x01 Bochs安装和配置
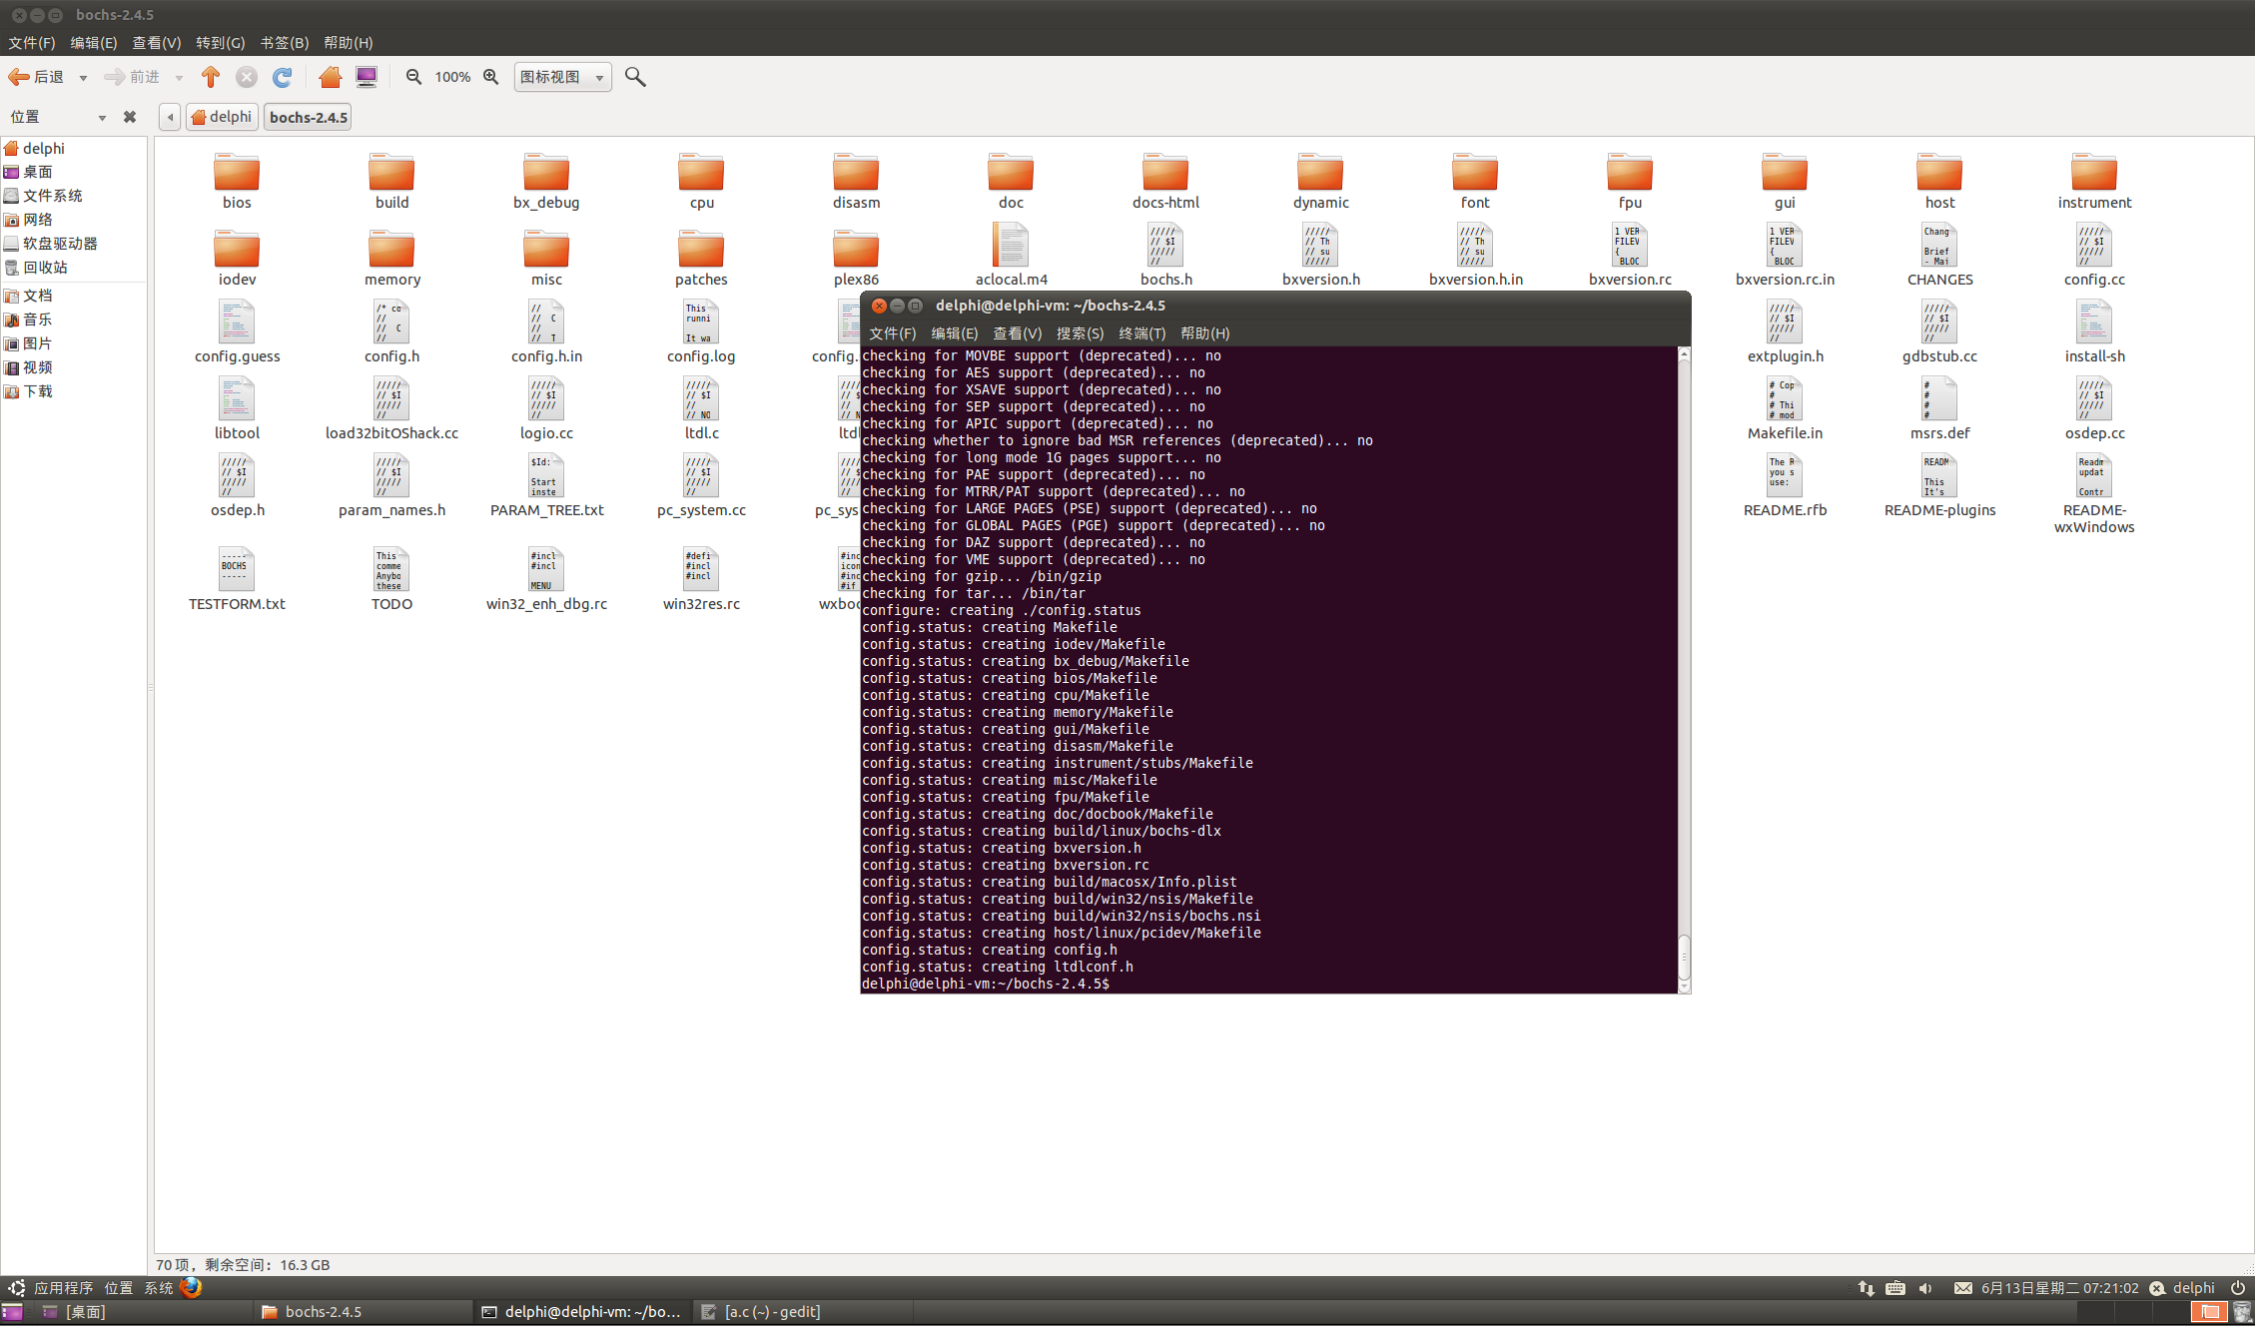
1.1 ./configure –enable-debugger –enable-disasm
./configure –enable-debugger –enable-disasm 有报错,无法继续后面操作

1.2 sudo apt-get install libgtk2.0-dev
参考网友的做法
sudo apt-get install libgtk2.0-dev

1.3 ./configure –enable-debugger –enable-disasm
再重新解压: ./configure –enable-debugger –enable-disasm
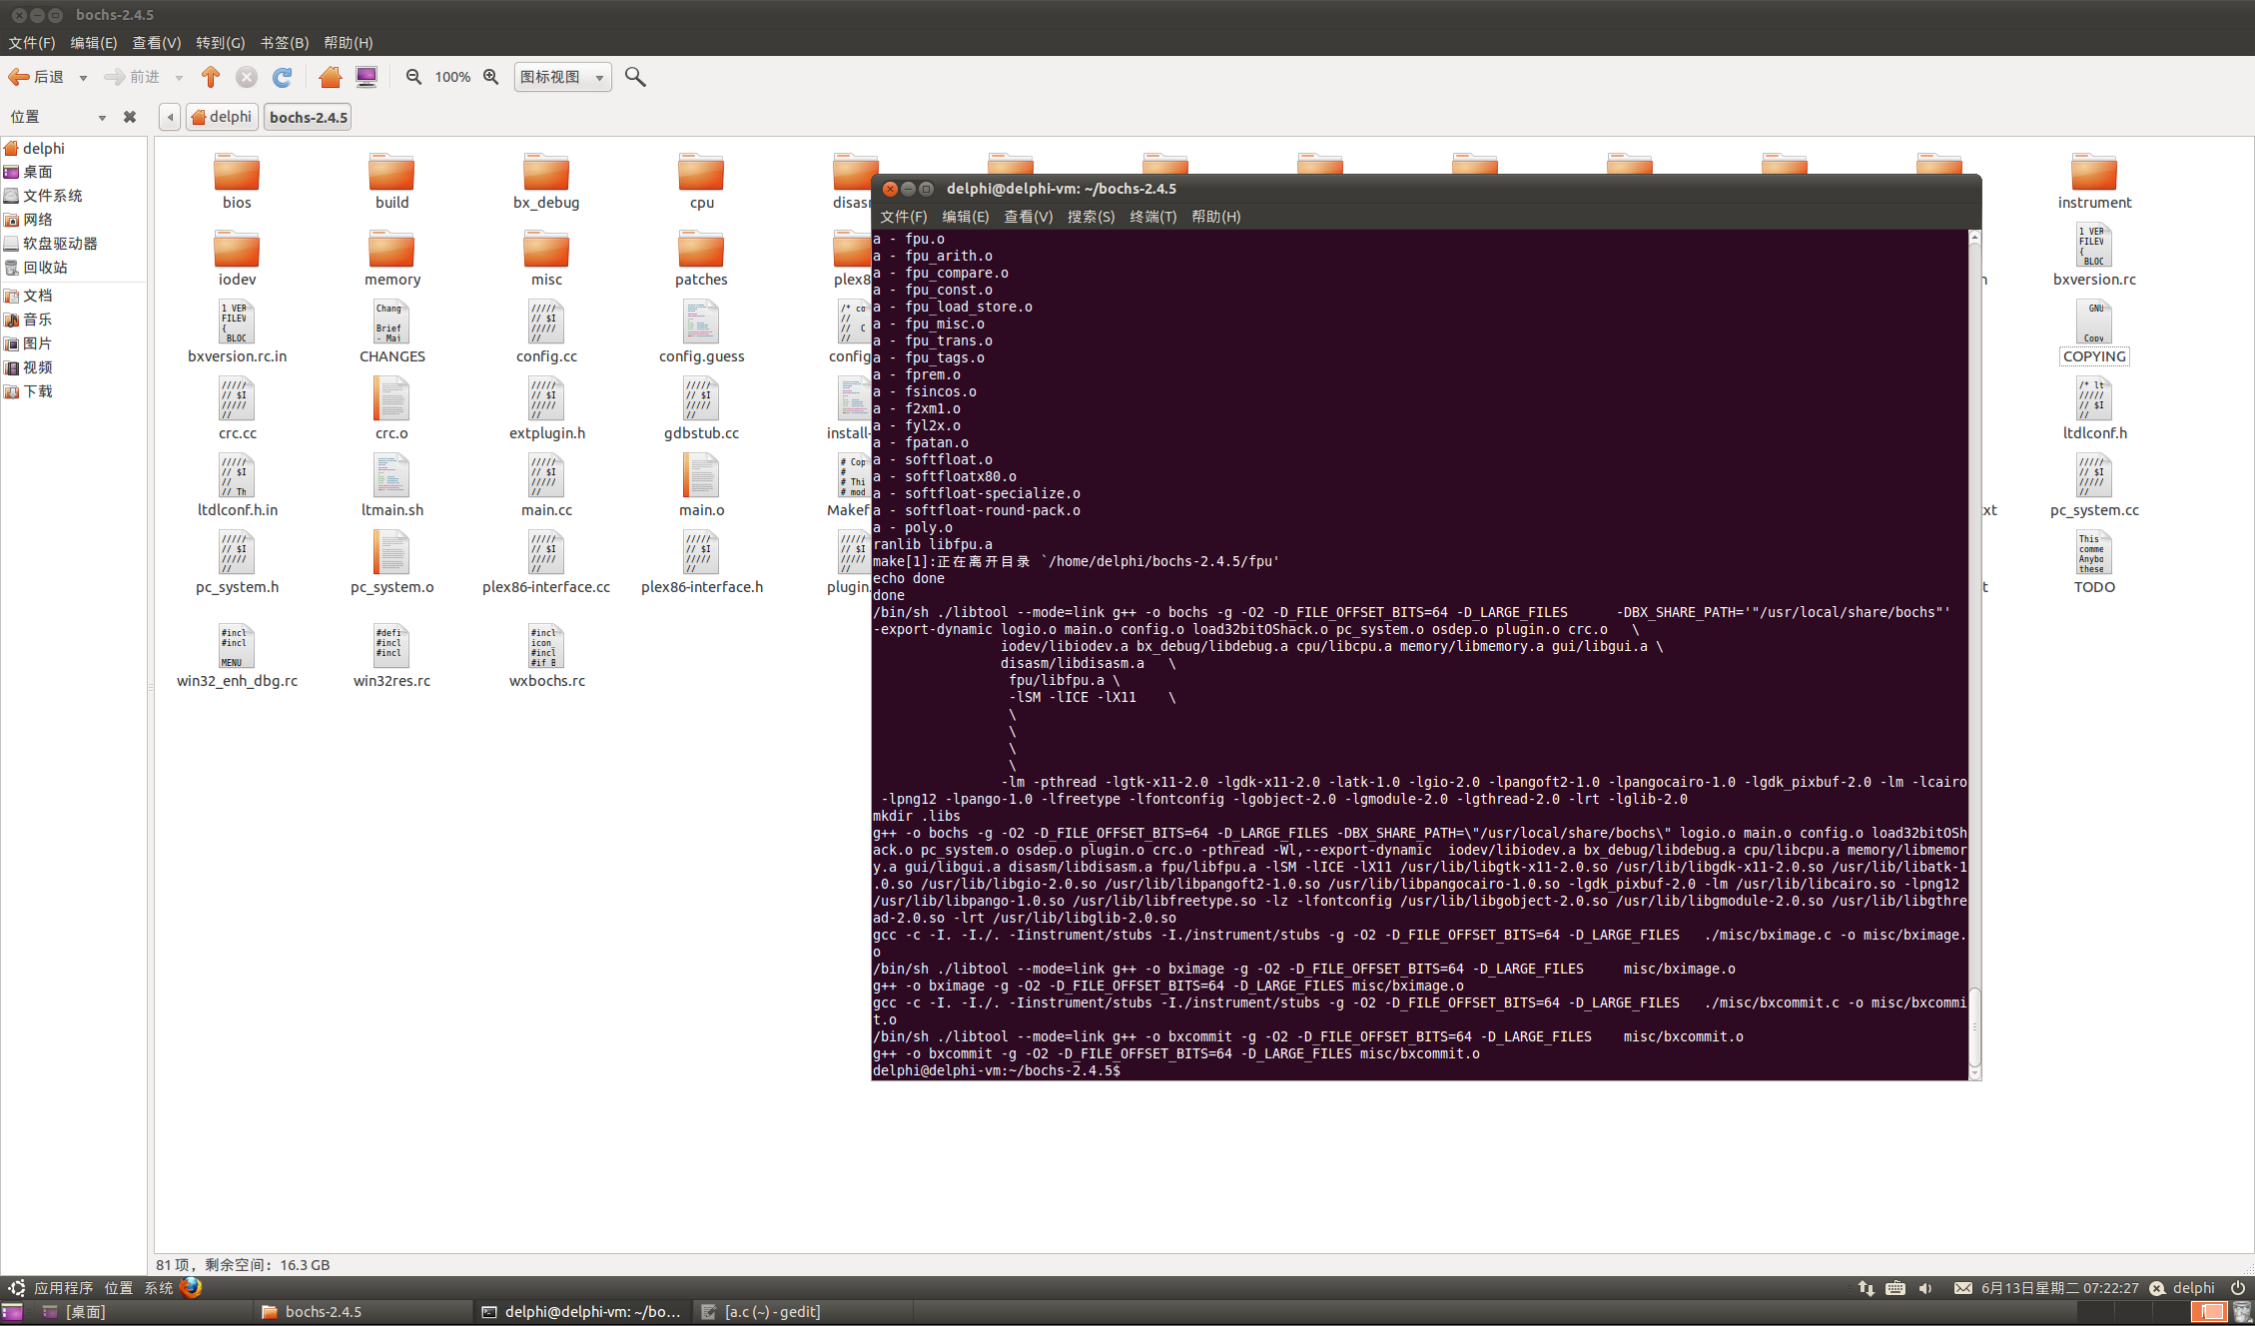
1.4 make
执行: make
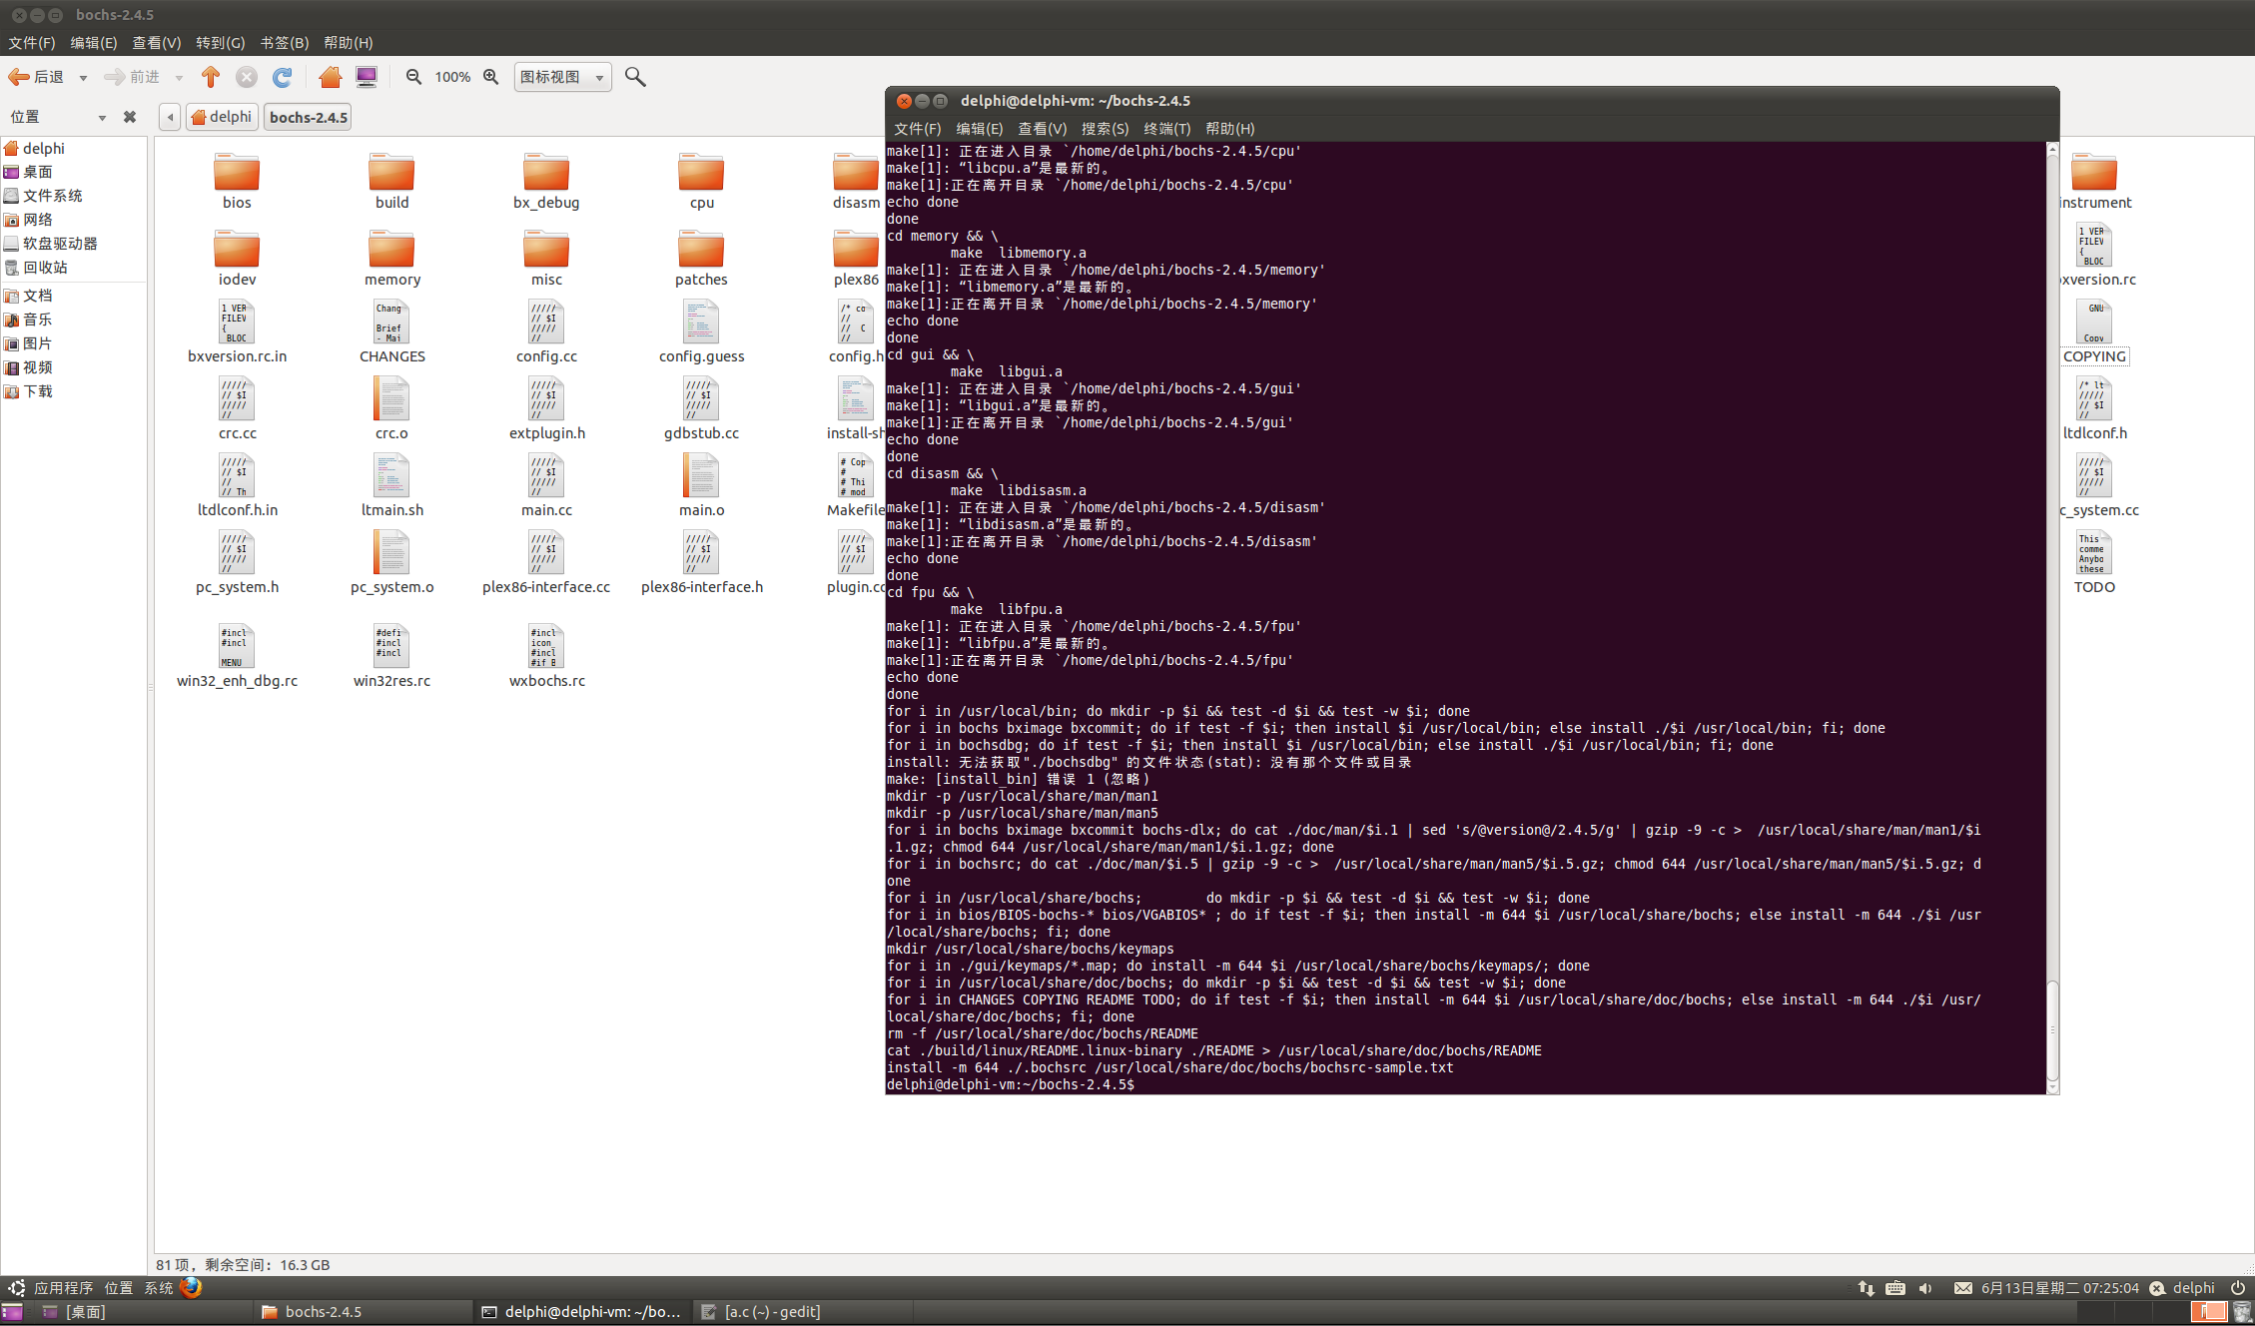
1.5 sudo make install
安装: sudo make install
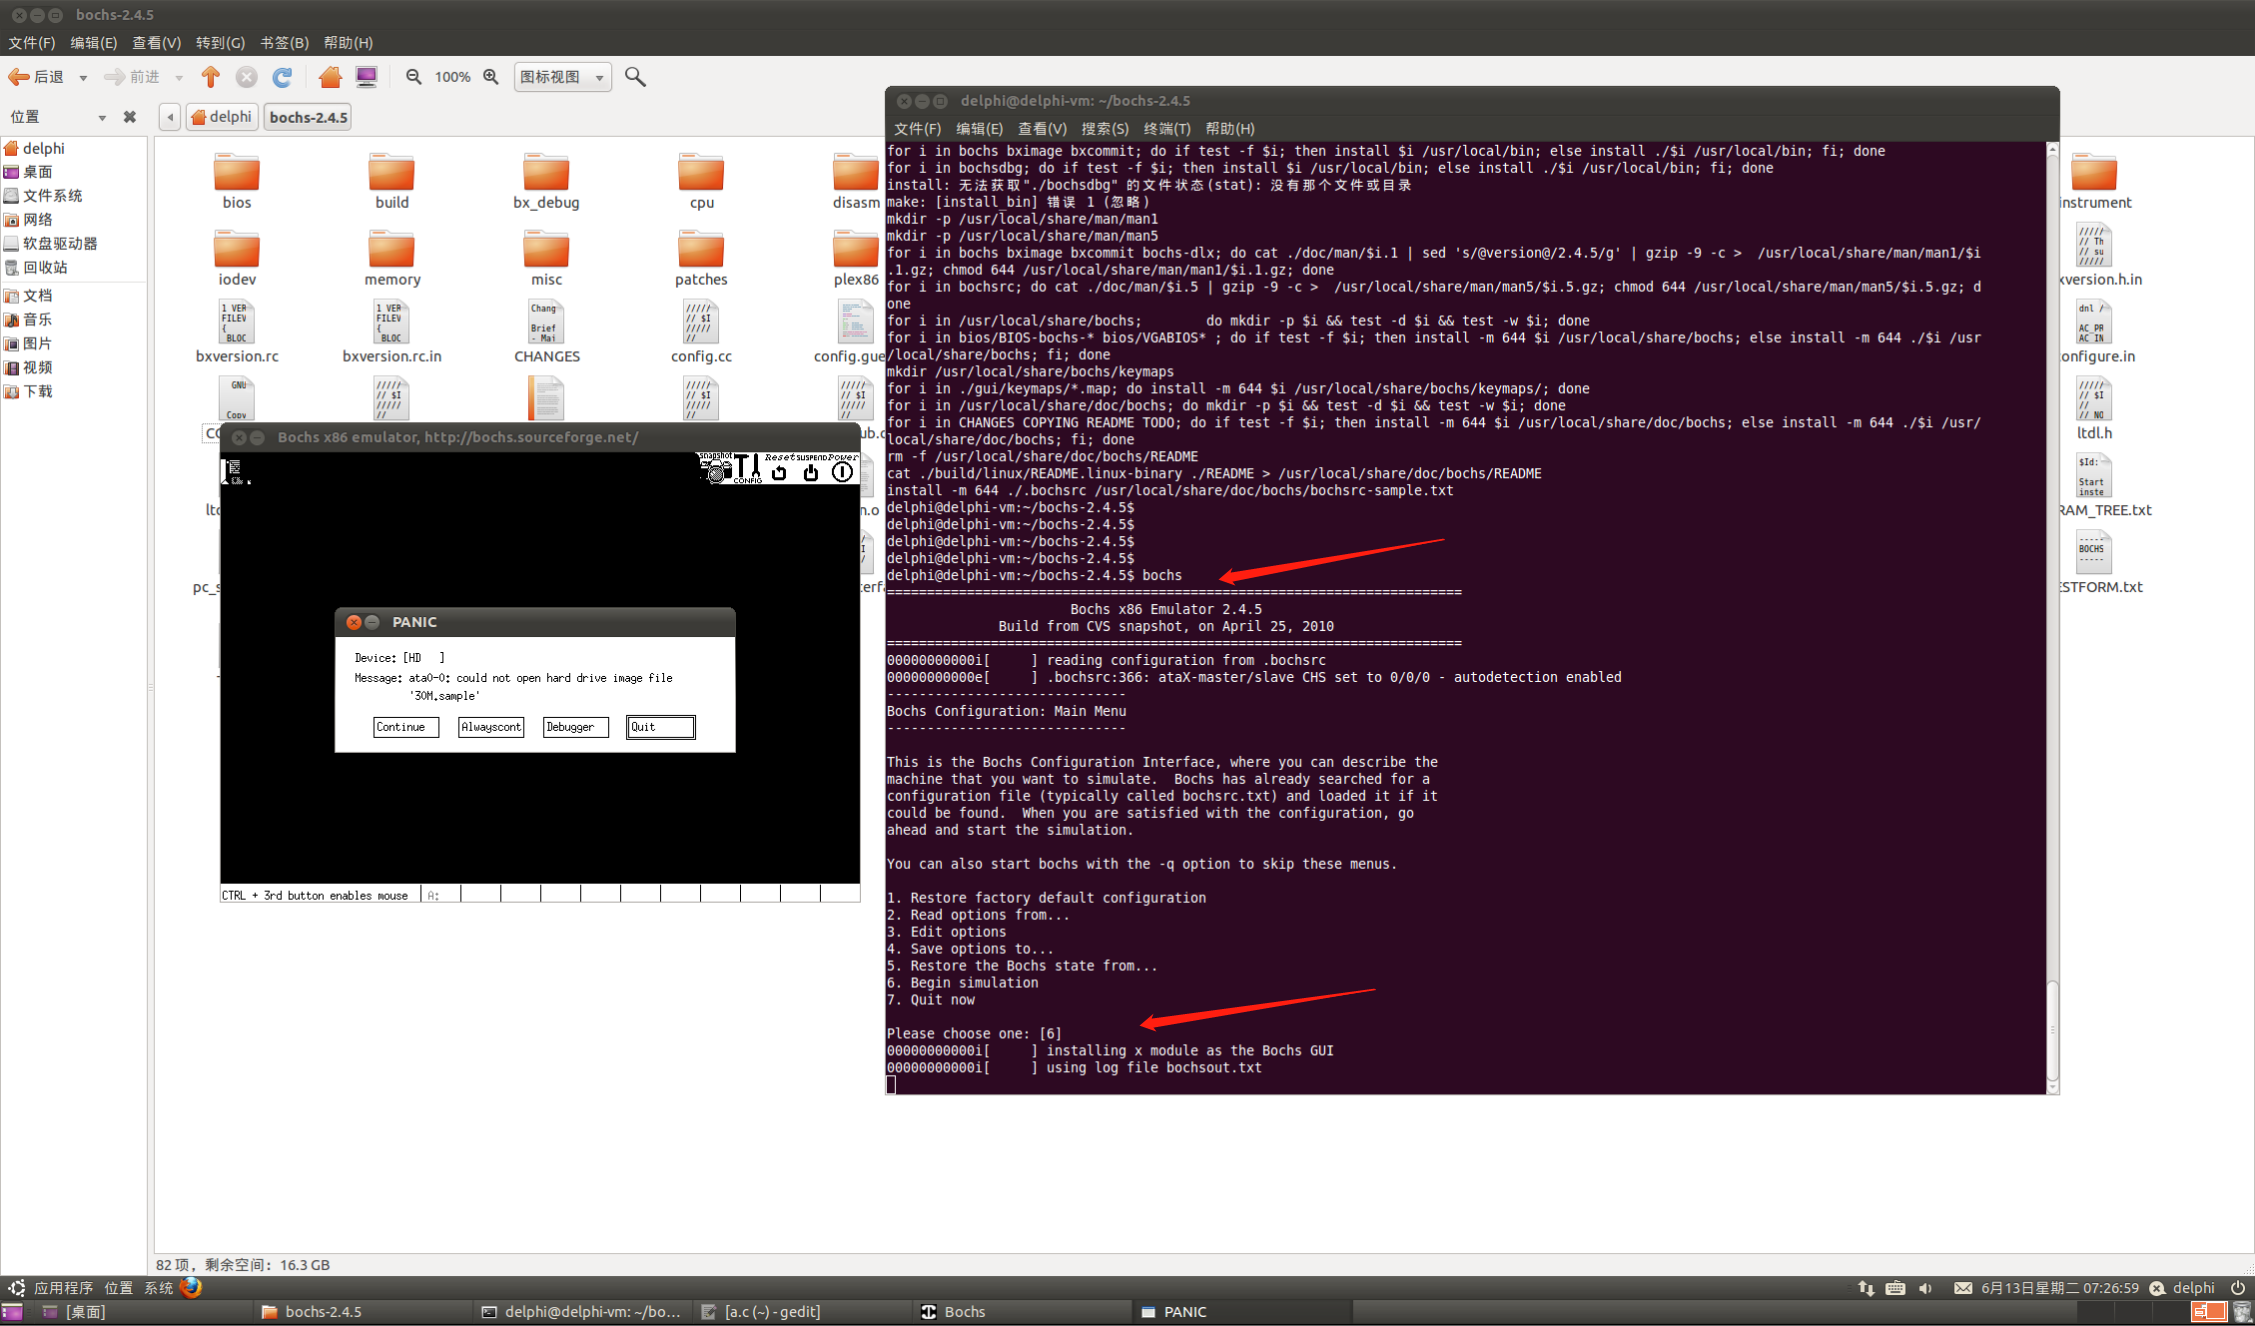
1.6 测试是否安装成功
执行: bochs
运行崩溃,但这是安装成功了
0x02 实验验证:Bochs的验证
2.1 启动文件模板
文件放到虚拟机里,把值填进去;
Bochsrc
###############################################################
# Configuration file for Bochs
###############################################################
# how much memory the emulated machine will have
megs: 32
# filename of ROM images
romimage: file=
vgaromimage: file=
# what disk images will be used
floppya: 1_44=a.img, status=inserted
# choose the boot disk.
boot: floppy
# where do we send log messages?
# log: bochsout.txt
# disable the mouse
mouse: enabled=0
# enable key mapping, using US layout as default.
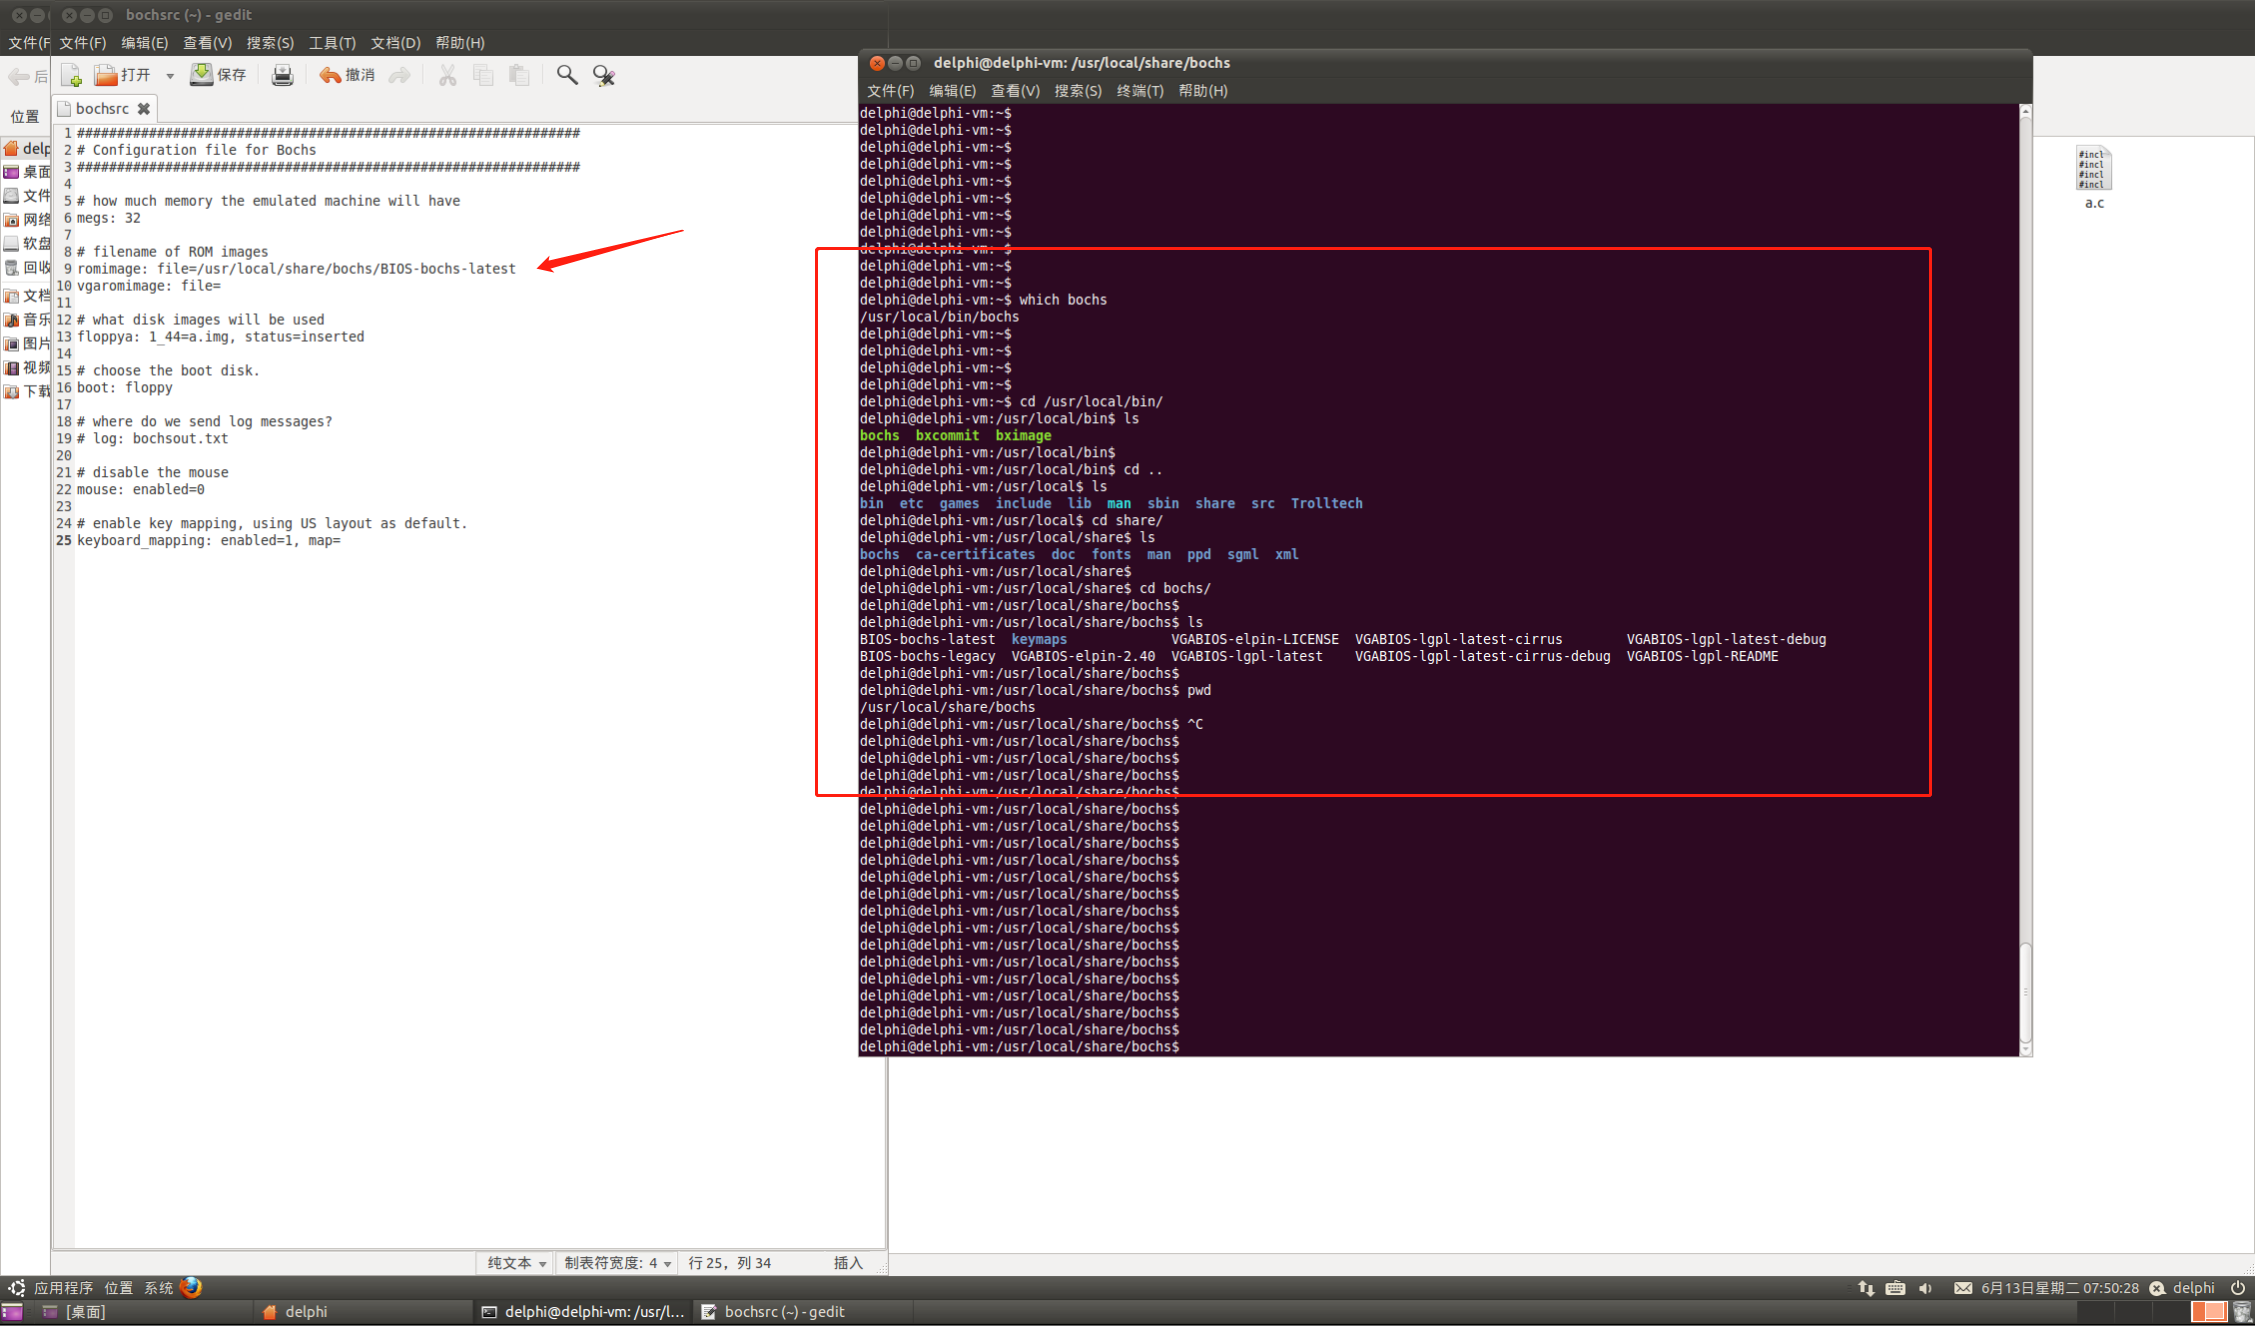
keyboard_mapping: enabled=1, map=2.2 路径填写:romimage
填写的过程也记录下:
which bochs
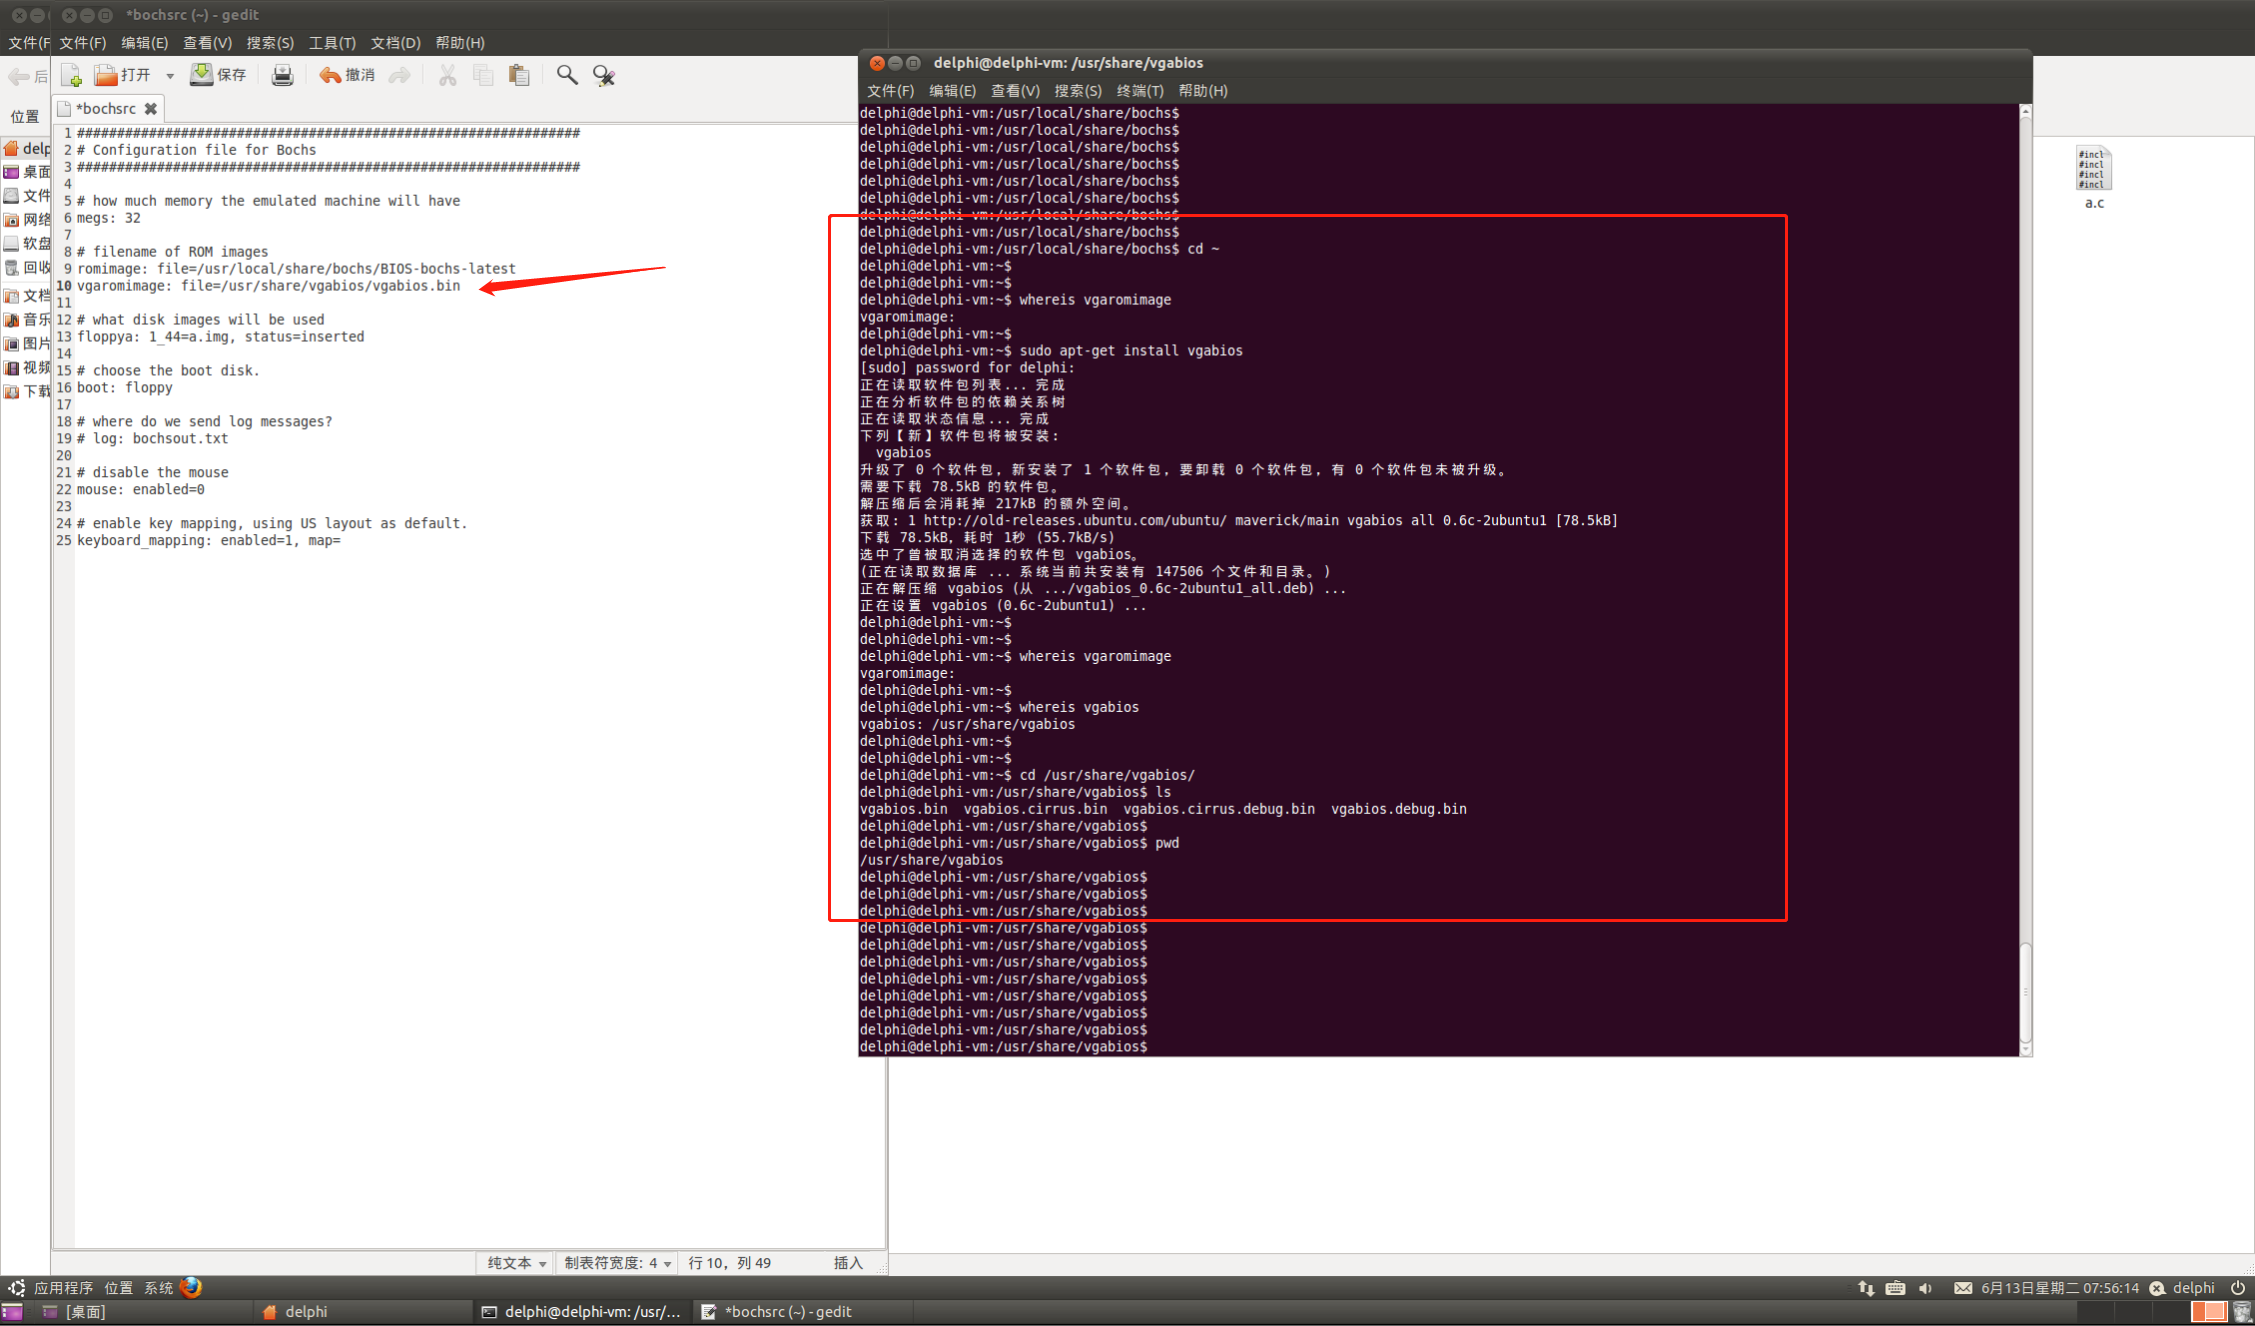
2.3 路径填写:vgaromimage
vgabios
2.4 路径填写:map
map

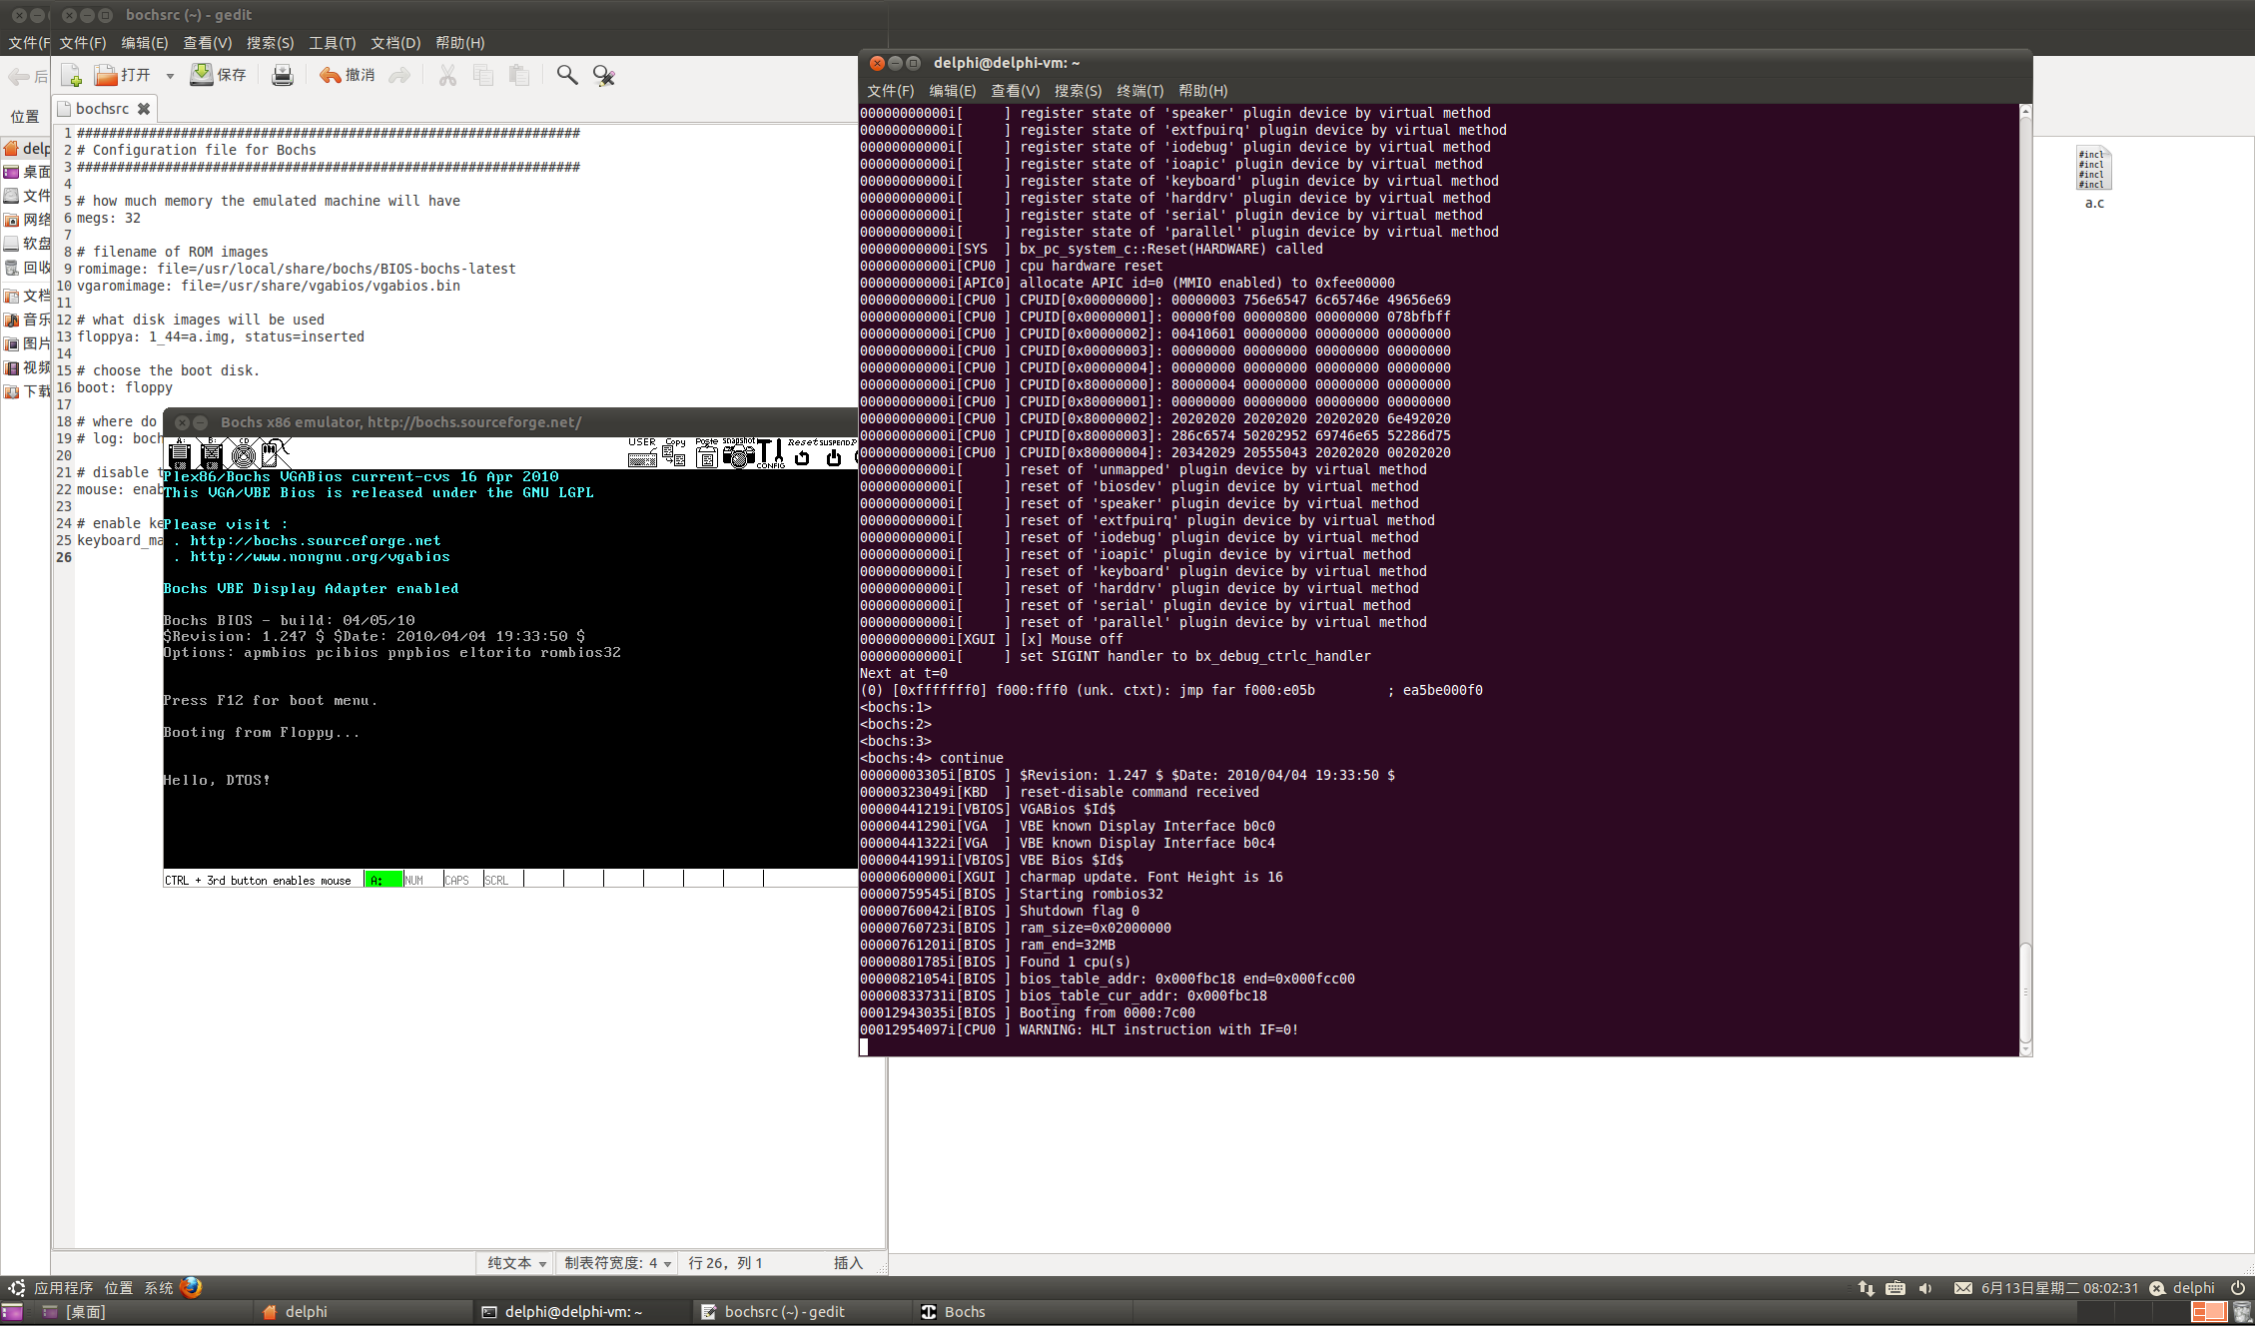
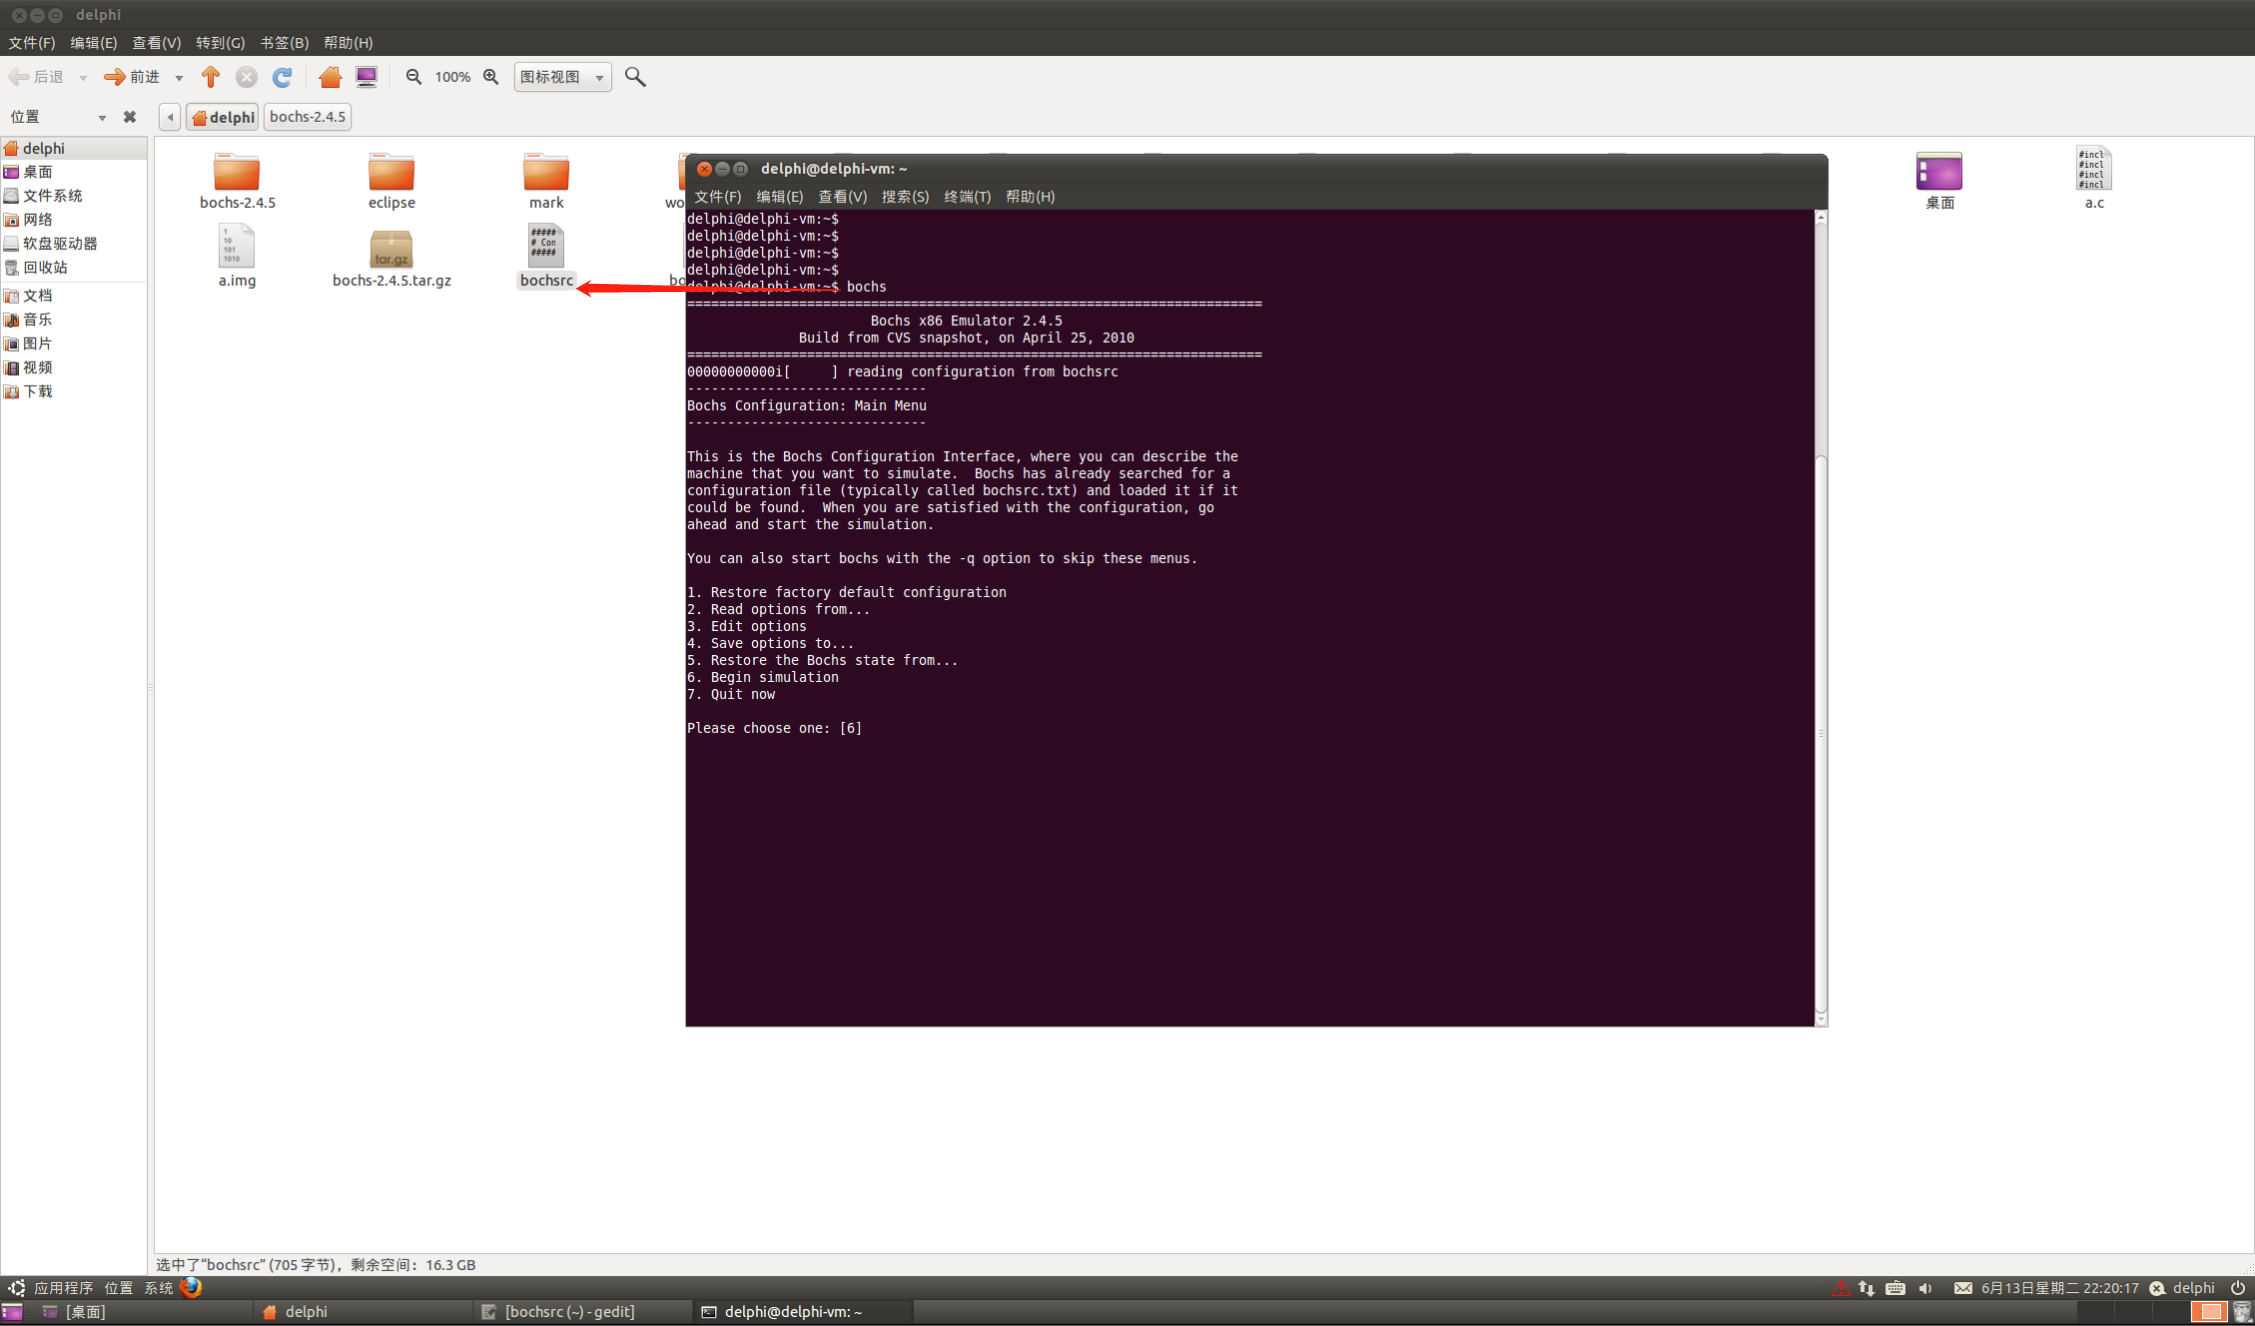
2.5 验证验证
验证bochs是否支持断点:
执行:bochs 默认6
运行就暂停了,输入continue之后才继续向下执行; 调试环境已经ok了;
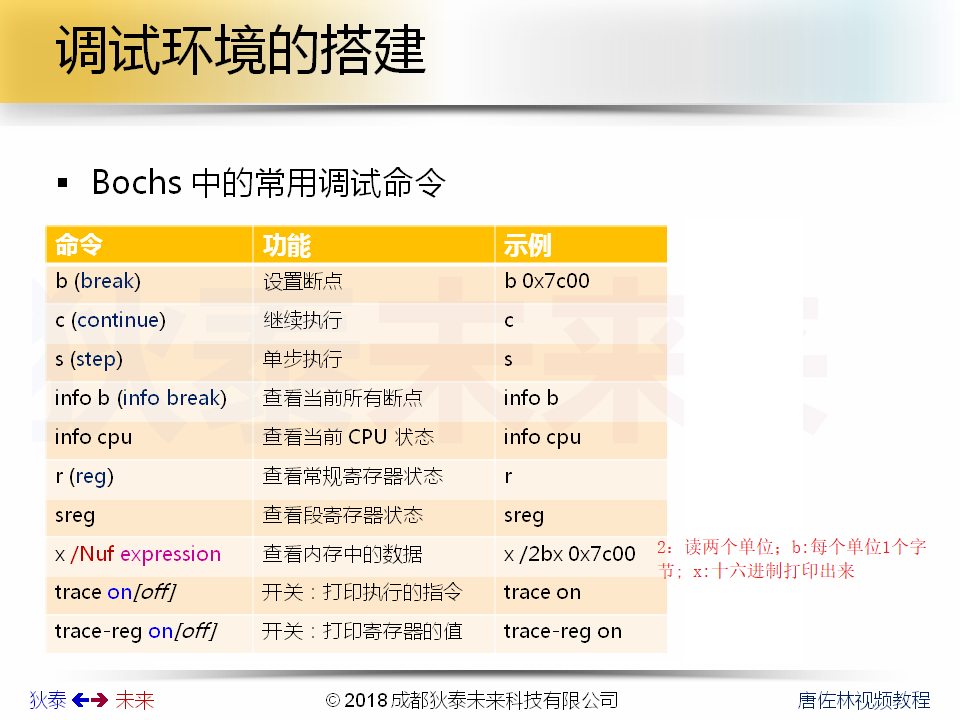
0x03 使用Bochs中的常用调试命令
3.1 常用命令总结
3.2 当前目录寻找启动文件
验证:
在当前目录寻找启动文件
3.3 bios加载并引导主引导程序
打断点,虚拟计算机上电,bios开始工作,bios加载并引导主引导程序
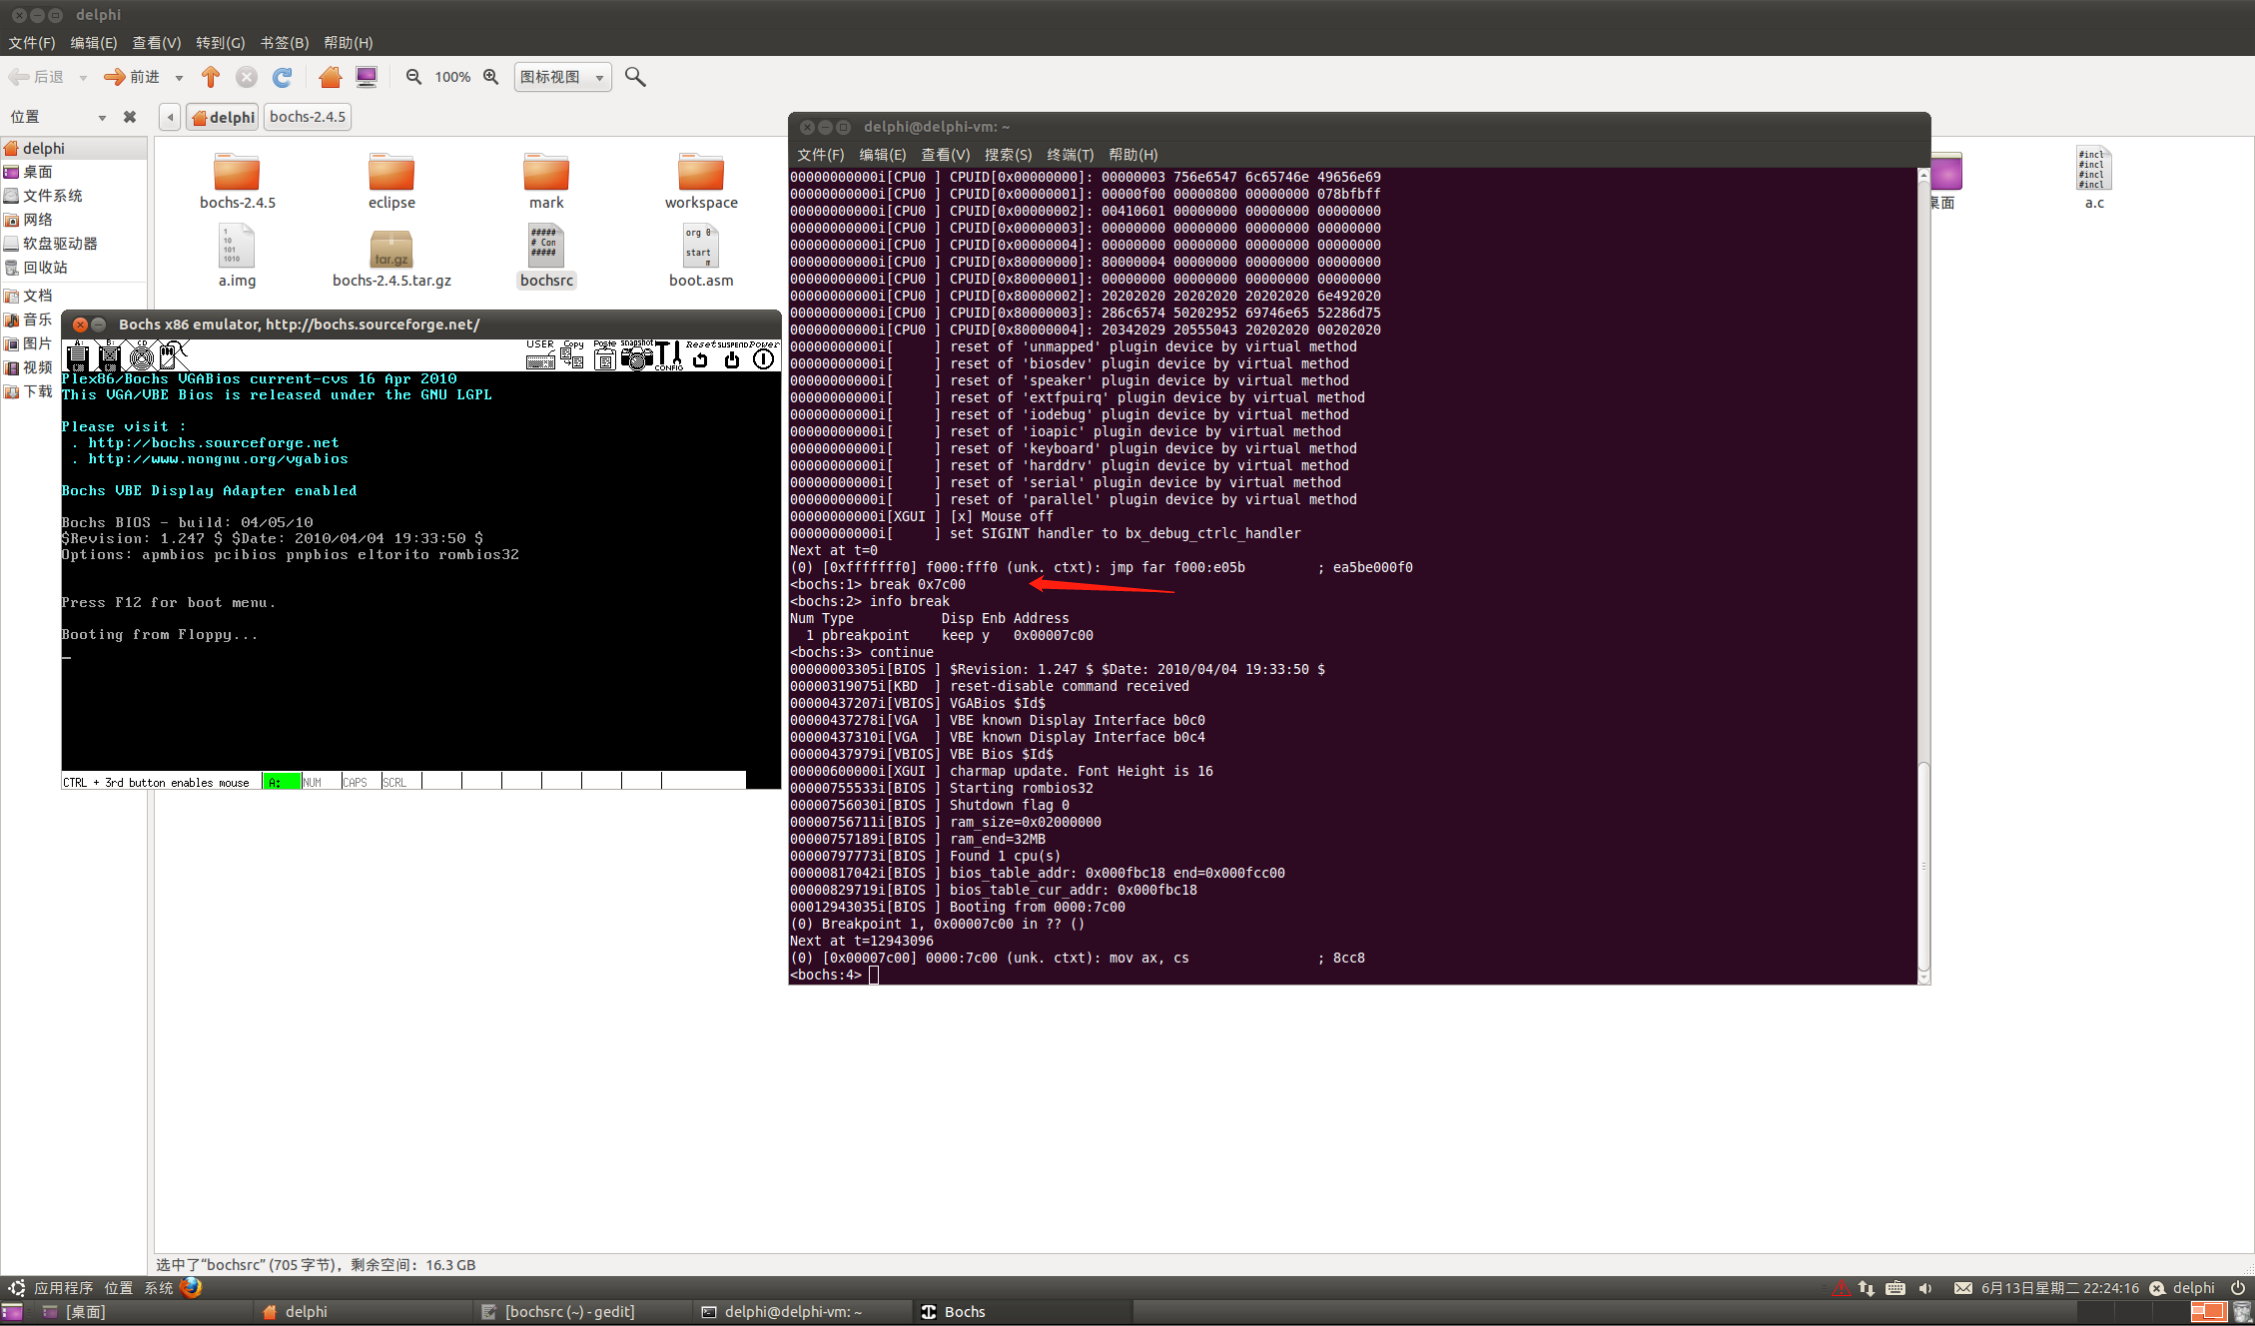
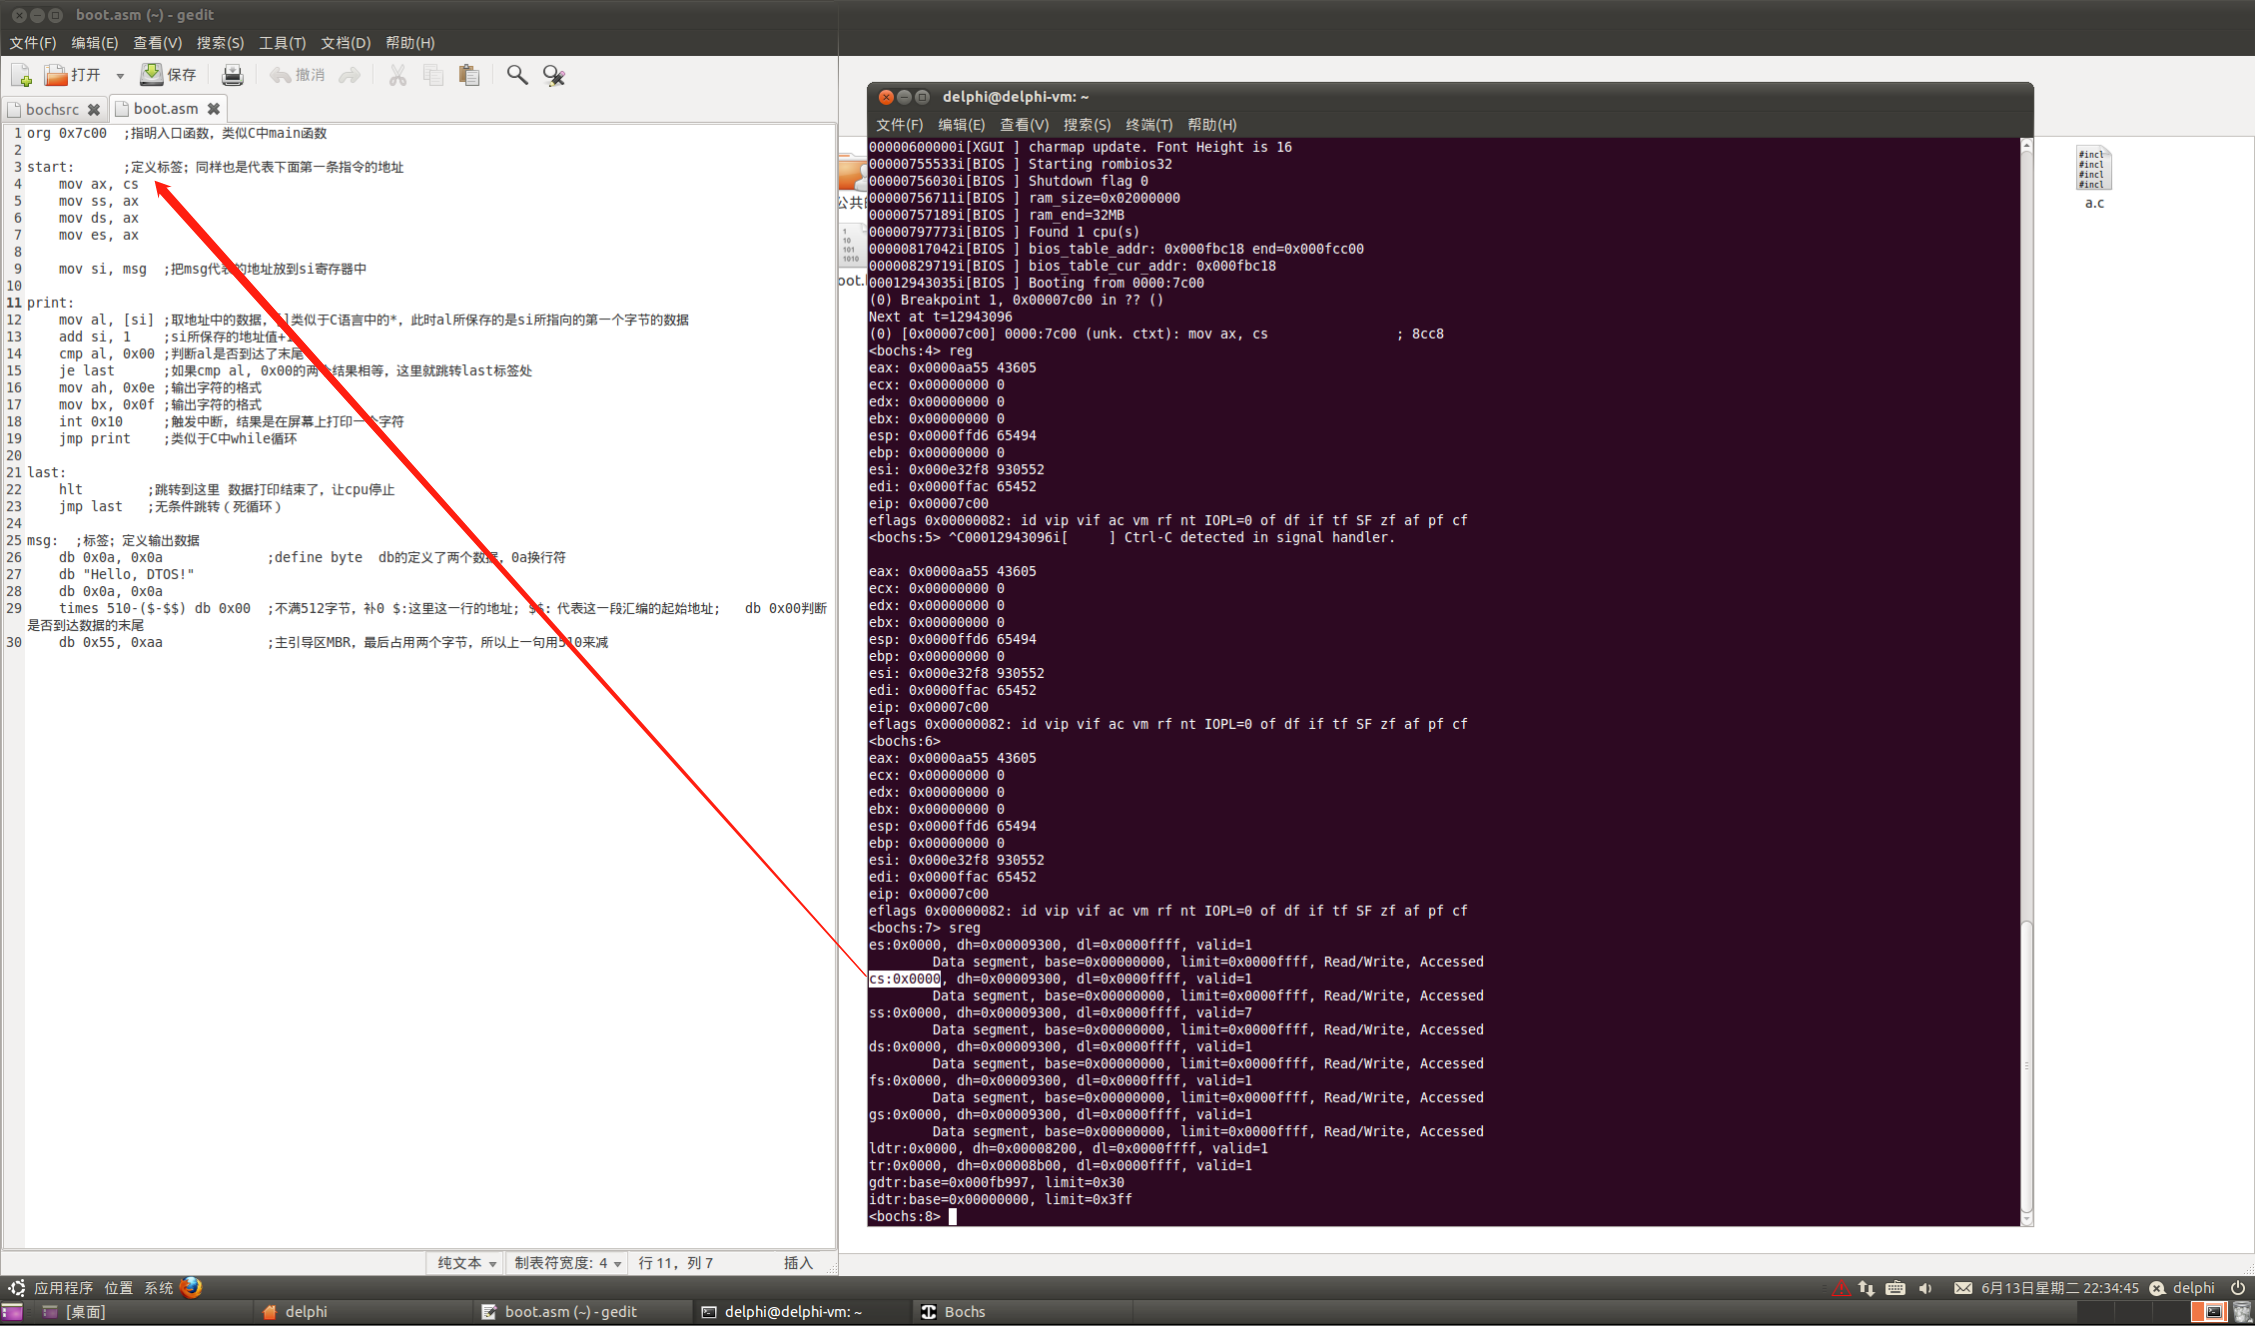
即将执行 eip: 0x00007c00,也就是mov ax, cs
(0) [0x00007c00] 0000:7c00 (unk. ctxt): mov ax, cs                ; 8cc8
1 段地址+段内偏移地址: 0000:7c00
2 对应物理地址(即将执行): mov ax, cs
3 编译器编译mov ax, cs之后,得到8cc8十六进制数
3.4 主引导程序的初始化(从调试结果来看)
通过调试的手段了解: 关键寄存器初始化为0,这就是为什么不使用0来初始化的原因
eip被初始化为了主引导程序入口地址
继续,运行结束

3.5 其他命令的使用
<bochs:3> continue
00000003305i[BIOS ] $Revision: 1.247 $ $Date: 2010/04/04 19:33:50 $
00000331073i[KBD  ] reset-disable command received
00000449205i[VBIOS] VGABios $Id$
00000449276i[VGA  ] VBE known Display Interface b0c0
00000449308i[VGA  ] VBE known Display Interface b0c4
00000449977i[VBIOS] VBE Bios $Id$
00000600000i[XGUI ] charmap update. Font Height is 16
00000767531i[BIOS ] Starting rombios32
00000768028i[BIOS ] Shutdown flag 0
00000768709i[BIOS ] ram_size=0x02000000
00000769187i[BIOS ] ram_end=32MB
00000809771i[BIOS ] Found 1 cpu(s)
00000829040i[BIOS ] bios_table_addr: 0x000fbc18 end=0x000fcc00
00000841717i[BIOS ] bios_table_cur_addr: 0x000fbc18
00012943037i[BIOS ] Booting from 0000:7c00
(0) Breakpoint 1, 0x00007c00 in ?? ()
Next at t=12943098
(0) [0x00007c00] 0000:7c00 (unk. ctxt): mov ax, cs                ; 8cc8
<bochs:4> step
Next at t=12943099
(0) [0x00007c02] 0000:7c02 (unk. ctxt): mov ss, ax                ; 8ed0
<bochs:5> step
Next at t=12943100
(0) [0x00007c04] 0000:7c04 (unk. ctxt): mov ds, ax                ; 8ed8
<bochs:6> x /2bx 0x7c00
[bochs]:
0x00007c00 <bogus+       0>:  0x8c    0xc8
<bochs:7> trace on    # 打开开关,之后每执行一条指令都会被打印出来
Tracing enabled for CPU0
<bochs:8> step
(0).[12943100] [0x00007c04] 0000:7c04 (unk. ctxt): mov ds, ax                ; 8ed8   #即将执行的指令
Next at t=12943101
(0) [0x00007c06] 0000:7c06 (unk. ctxt): mov es, ax                ; 8ec0  # 下一条要执行的指令
<bochs:9> step
(0).[12943101] [0x00007c06] 0000:7c06 (unk. ctxt): mov es, ax                ; 8ec0
Next at t=12943102
(0) [0x00007c08] 0000:7c08 (unk. ctxt): mov si, 0x7c23            ; be237c
<bochs:10> trace-reg on    # 打印寄存器指令开关,每运行一个指令之前,会把寄存器的值打印出来
Register-Tracing enabled for CPU0
<bochs:11> step
eax: 0x00000000 0
ecx: 0x00000000 0
edx: 0x00000000 0
ebx: 0x00000000 0
esp: 0x0000ffd6 65494
ebp: 0x00000000 0
esi: 0x000e32f8 930552
edi: 0x0000ffac 65452
eip: 0x00007c08
eflags 0x00000082: id vip vif ac vm rf nt IOPL=0 of df if tf SF zf af pf cf
(0).[12943102] [0x00007c08] 0000:7c08 (unk. ctxt): mov si, 0x7c23            ; be237c  # 执行目标指令,又打印寄存器的值,前后si寄存器的值发生了变化
Next at t=12943103
eax: 0x00000000 0
ecx: 0x00000000 0
edx: 0x00000000 0
ebx: 0x00000000 0
esp: 0x0000ffd6 65494
ebp: 0x00000000 0
esi: 0x000e7c23 949283
edi: 0x0000ffac 65452
eip: 0x00007c0b
eflags 0x00000082: id vip vif ac vm rf nt IOPL=0 of df if tf SF zf af pf cf
(0) [0x00007c0b] 0000:7c0b (unk. ctxt): mov al, byte ptr ds:[si]  ; 8a04
<bochs:12>
